
Hey all!
It’s Angela and I am back to give you some décor ideas for your dorm.
Dorm rooms are pretty bare and it’s really nice to add a little something to personalize them. Making your own décor can save money and is lots of fun. I am going to go through the process to make two different pieces.
Toilet Paper Hanging
- Start gathering toilet paper rolls. I made two squares that contained 9 smaller flowers. This took approximately 20 rolls, but you can collect a smaller or larger number depending on the size and number of squares you want to create.
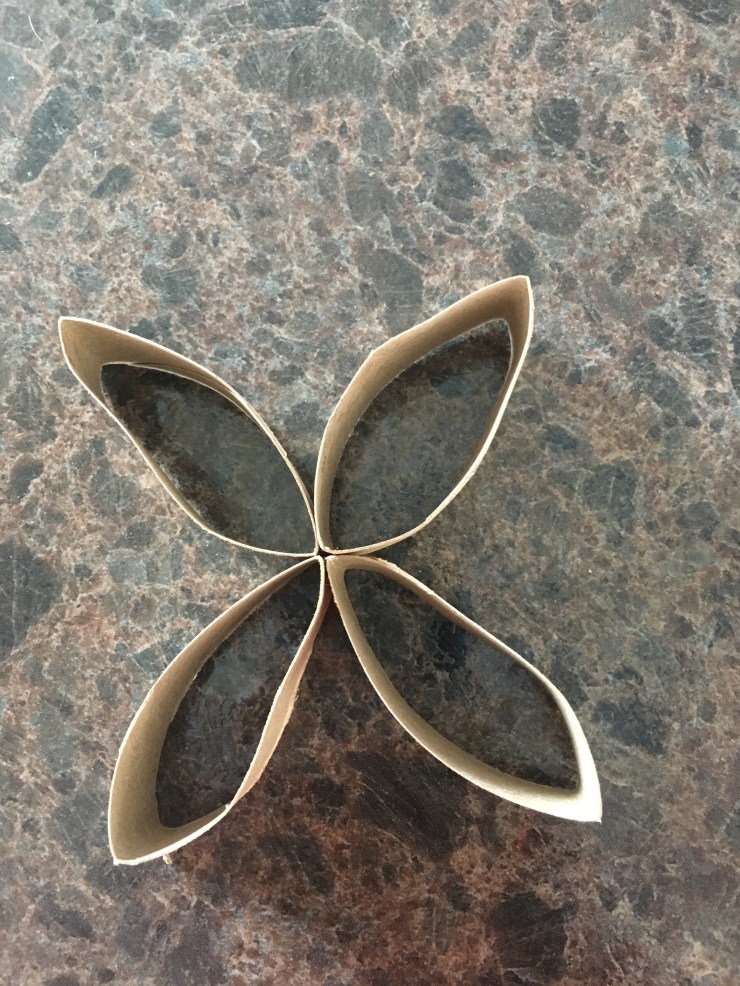
- Once the rolls are collected, you can began cutting them. I cut the rolls into about four pieces which were each 1 inch wide. Pinch each piece in the middle after cutting it so it creates a point on each end. Take four pieces and match up the points to create a four petal flower. Hot glue the four points together. After all of the flowers are created, they can be glued to each other to form a square or any shape you want to create.
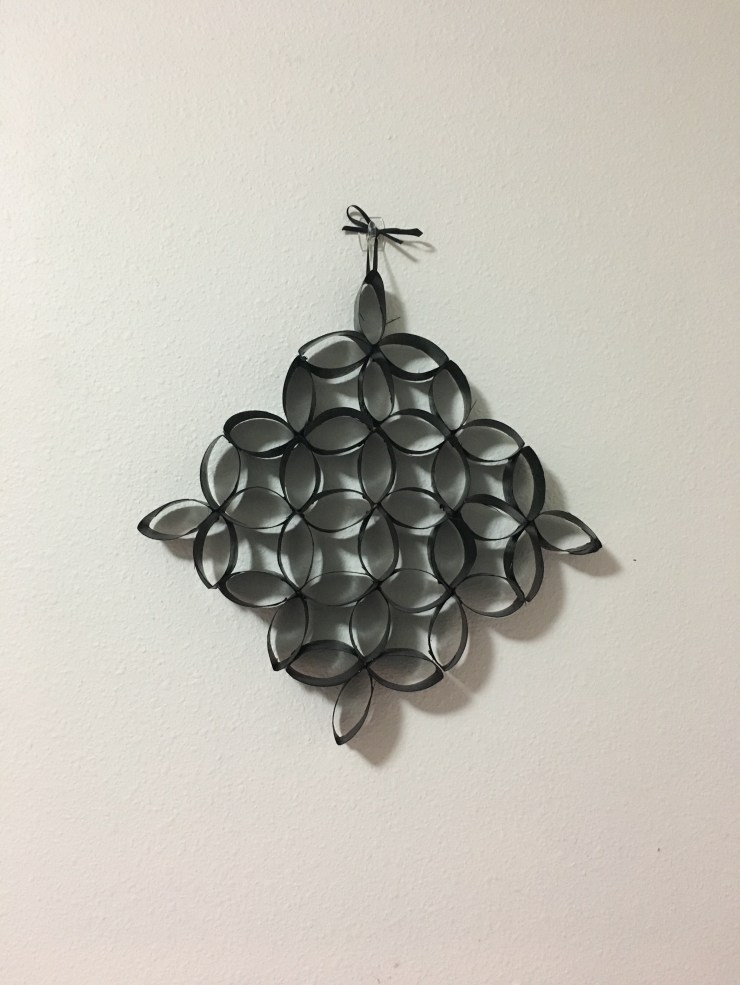
- Before spray painting the pieces, be sure that all of the touching points are still glued together. Be sure to allow them enough time to dry after spraying them. Spray them with a second coat as needed. I painted my squares black because I knew it would go with anything and I could use them beyond college. However, I think it would be fun to personalize them with your favorite color.
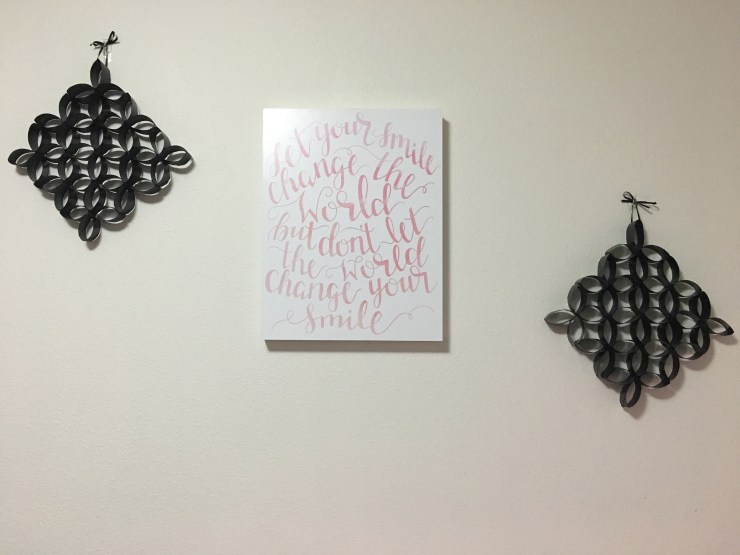
- Create a bow with your choice of string around one flower petal for hanging. I hung mine like a diamond so I tied the corners, but if you want them as squares then be sure to tie around a petal in the middle.
- Hang your piece or pieces with command hooks. You can hang them on any wall in your room. They can be paired with other art or by themselves.
Yarn Letter
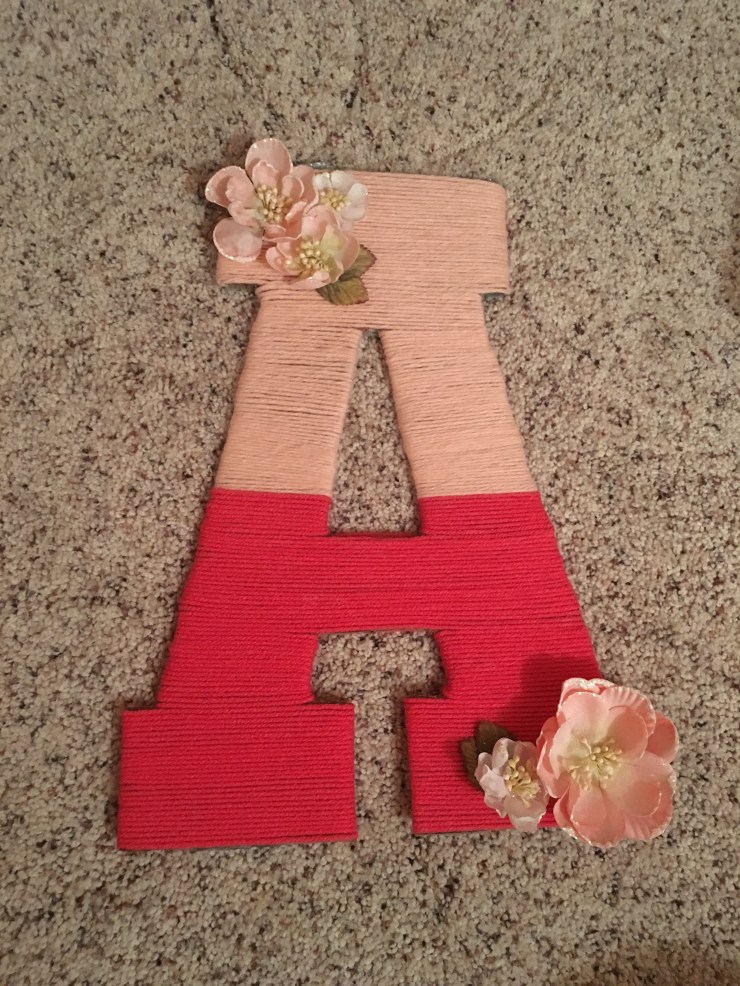
- Pick the letter you want to wrap in yarn. You can use a wood letter, but I cut my letter out of cardboard so that it would be lighter and easier to hang. You can wrap multiple colors or a single color around your letter.
- Start by applying glue on the back side of the letter. Begin at the top by covering about two inches of the letter with glue. Start wrapping the yarn around the letter and apply more glue as you cover each section. Push the yarn into the glue to ensure it holds. I used hot glue but craft glue would work as well. Make sure to pull the yarn tight as you go around from one side to the other. Give the glue time to dry.
- Take a small amount of string and create a loop on the back of the letter for hanging. I used duct tape to secure the loop. Command hooks can be used to hang the letter. You can hang them above your bed, desk, on your door, or anywhere in your room.
- Personalization is all up to you. You can add anything you like to dress up the letter or leave it with just the yarn. I added flowers to mine because I like them and thought they complemented the colors. You could always take small letters and spell out your first or last name depending what letter you chose to use. Maybe you have a hobby you really like and want to really personalize it by gluing on something that goes along with that.
I hope this gives you some fun ideas for DIY decorations you can make for your dorm, whether you’re already in college, or heading there next fall!
